Web Forms on formize.com make it possible to conduct anonymous surveys, collect information about responses in a database, and also provides tools for analyzing responses.
Web forms also support the ability to generate PDF files for the user after he fills out the form on the site. The template for generation is a document in the format DOCX, in which comments of a special type are added, defining areas for substituting answers and conditions for excluding that or other part of the document. This function will be useful when drawing up agreements, applications and petitions, which must be formed as a non-editable document with continuous text without fillable fields, i.e. be and not look like a paper form.
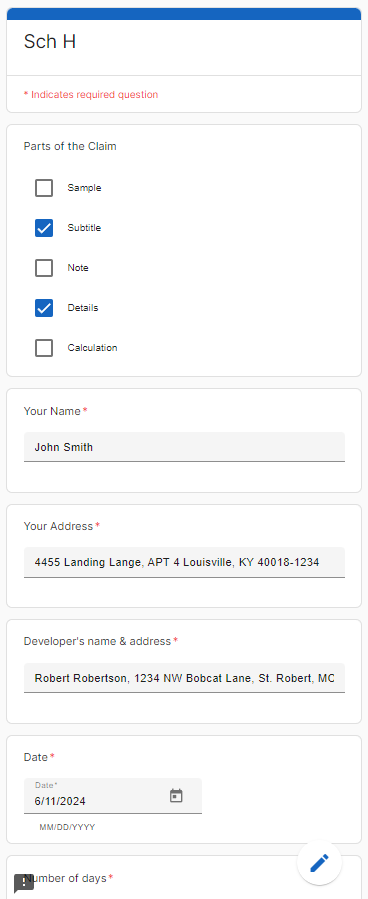
What does this look like for the respondent? He simply fills out a web form
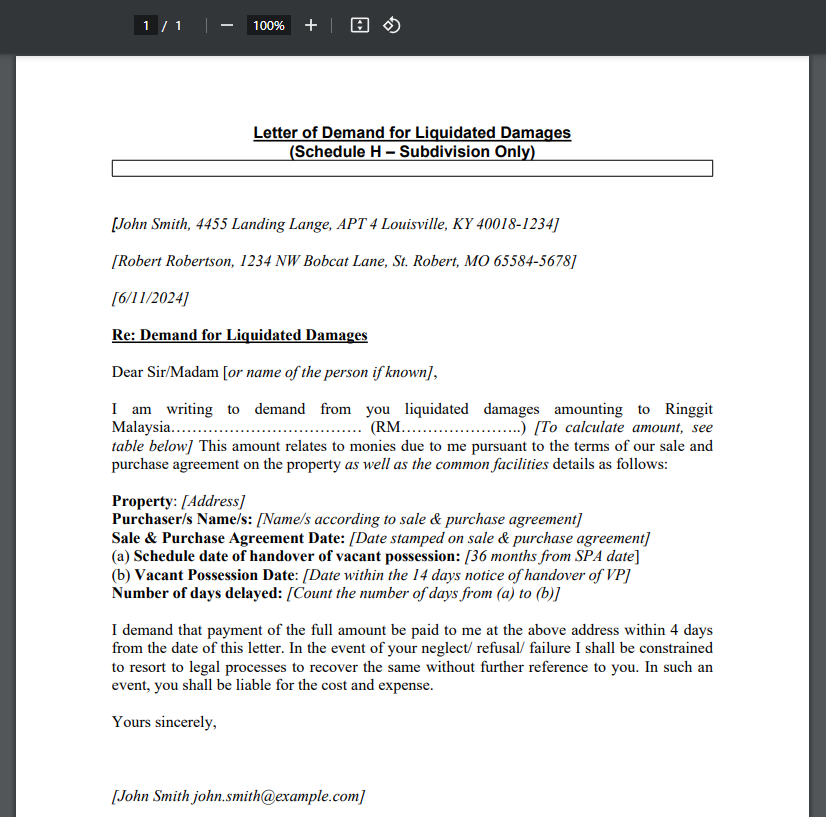
Then he submits it, and downloads a completed PDF document, edited based on his data.
To set up PDF generation in Web Forms, you need to follow these steps sequentially:
Prepare a document template in DOCX format.
Create a web form based on your DOCX template.
Publish your web form.
Preparing a DOCX document template
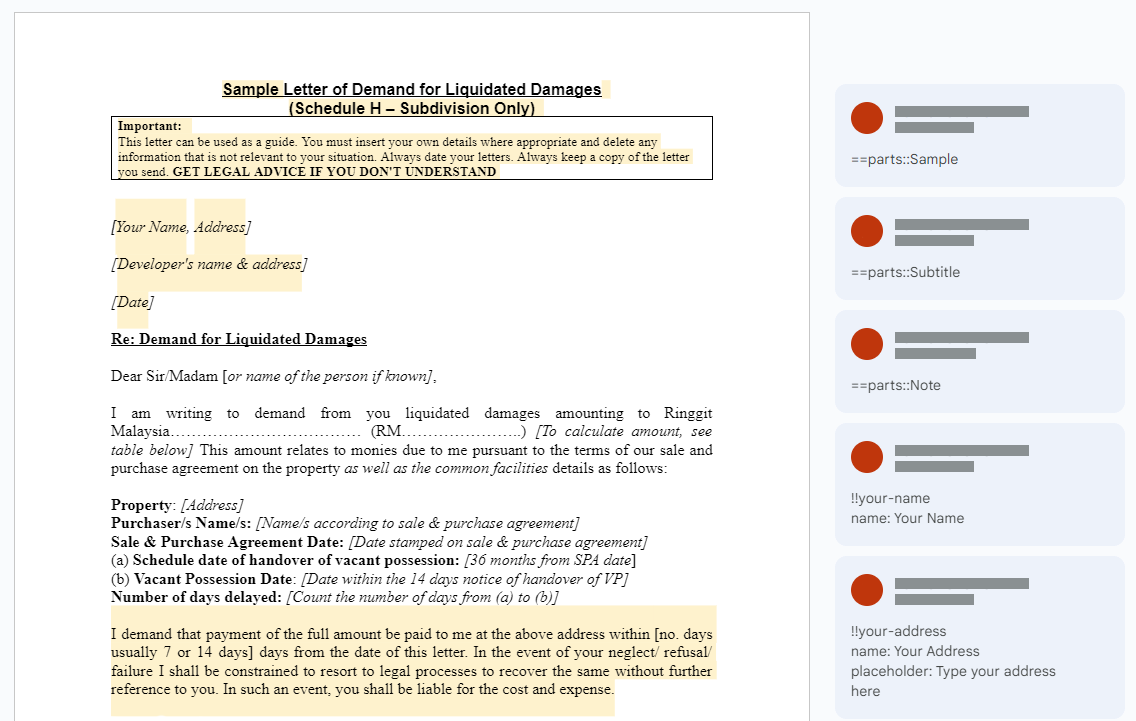
Create or edit an existing document in DOCX format by adding special comments.
The DOCX template parser processes only primary comments (i.e. comments that are not replies to other comments), the text of which begins with the characters “==” or “!!”.
The DOCX document is not only a template for the generated PDF document, but also a template for a future web form. Therefore, you can configure some attributes of the form questions in the comments of the DOCX document. Read more about this in the section Syntax of Special Comments.
Types of Special Comments
The DOCX template parser understands two types of comments: substitution comments and conditional comments.
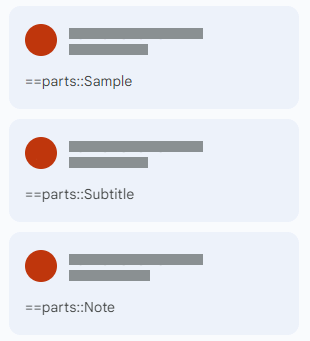
Substitution comments are comments above selected text in a document that, as a result of a user filling out a form, can be replaced if the user provides a new value for it. Comment format: “==FIELD_ID” and “!!FIELD_ID”. When creating a web form based on a DOCX template for substitution comments questions with the "Short answer" type are created if the question type is not explicitly specified in the comments.
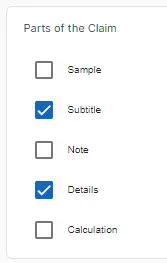
Conditional comments are comments above selected text in a document that can only be included in the document (as is) if the user explicitly chooses to add it. Comment format: “==FIELD_ID::BLOCK_NAME” and “!!FIELD_ID::BLOCK_NAME”. When creating a web form based on a DOCX template for conditional comments questions with the "Checkboxes" type are created if the question type is not explicitly specified in the comments.
The field name in the comments can be repeated many times in the document, in which case all these comments will be configured to one fillable field in the web form.
Comments can be nested. That is, you can leave a conditional comment on an entire paragraph or several, and inside mark individual blocks of text with substitution comments.
If the user does not enter a value in the field associated with the substitution comment, then the text highlighted by this comment will not be changed in the generated PDF document.
If the user does not select a value associated with a conditional comment, the text highlighted by that comment will be removed from the generated PDF document.
Syntax of Special Comments
As mentioned above, special type comments must begin with the characters “==” or “!!” and be top-level comments, i.e. are not replies to other comments.
Why can special characters be “==” or “!!”? This is done to keep the syntax simple:
- “==” defines an optional fillable field in a web form that the user can skip if desired.
- “!!” defines required fields. If the user does not enter a value in such a field, he will not be able to submit the web form.
These special characters are followed by an expression that specifies the identifier and type of comment. If the expression contains the characters "::", this is a sign of a conditional comment. In this case, after the symbols “::” there is the name of the conditional adding block, which the user can select explicitly in the web form.
The remaining attributes of the question can also be defined in the text of the special comment or in the replies to it. In this case, the value of each attribute must be specified in a separate comment line and begin with the attribute name.
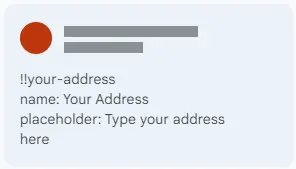 Attributes in separate lines of the special comment
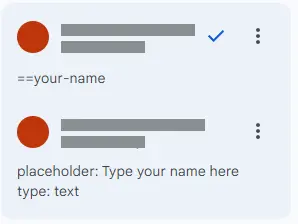 Attributes in response to special comment
Valid attribute names and descriptions
| Designation | Purpose | Description |
|---|---|---|
| name: | Question | Human-readable field name |
| description: | Description of the question | Displayed below the question text. |
| type: | Field type | The following types are supported: text - short text field. This is the default type for substitution comments. multiline - paragraph radio - radio group checkboxes - checkboxes, selecting one or more. This is the default type for conditional comments dropdown - drop-down list, select one of many date - date input field time - time input field |
| placeholder: | Placeholder | Appears in the input field if there is no value entered. Applies only to the following field types: text multiline dropdown |
| hint: | Hint text | Appears below the fillable field in small print. Applies only to the following field types: text multiline dropdown date time |
Note: Since editors such as MS Word automatically capitalize the beginning of each sentence, attribute names can also begin with a capital letter, for example: Name, Description, Type, etc.
Create and publish a DOCX-based form
So, you have a document template in DOCX format. Congratulations! You have completed the most difficult part of setting up document generation. Just a few clicks left and the setup is complete.
Go to the form creation page and upload your DOCX template, after activating the "Import from DOCX template" option.
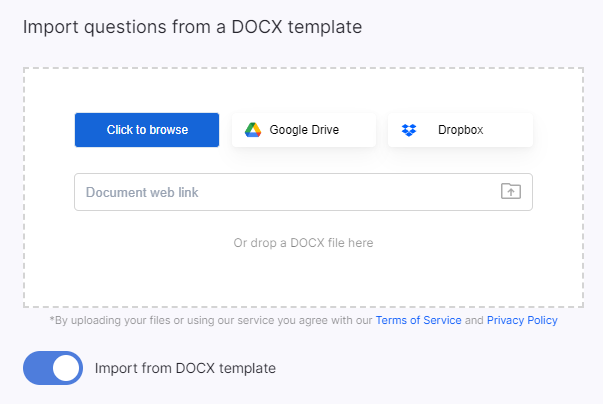
Wait for the operation to complete, and in the dialog that appears, click “Yes” to activate the PDF generation function after the user fills out the web form.
Then open the form settings panel, and in the "Actions after form submission" section, select the document language. This is necessary to correctly format language-specific values such as dates.

Make changes to the generated web form if necessary. You can add additional descriptions of the fields to be filled in, change their type, add sections, headings, images and video instructions.
Finally, to publish your completed form, click the "Apply" button in the top bar. Your form has been published. Now you can share it by clicking on the "Share" button in the top bar.
Change or add a DOCX template to an existing form
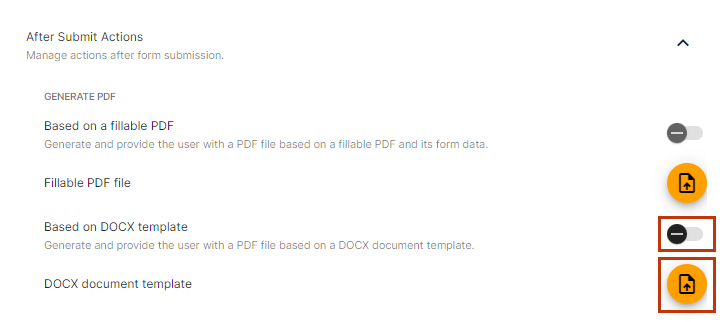
In addition to creating a form based on a DOCX template, you can bind an existing form to any DOCX template. To do this, open the form settings panel in the “Actions after submitting the form” section and click the “Upload DOCX document template” button. After that, activate the "Generate PDF based on DOCX template" option.
Now you need to create and configure the fields to be filled in in accordance with the special comments from the DOCX template. You can do this manually, or you can use a convenient form synchronization tool.
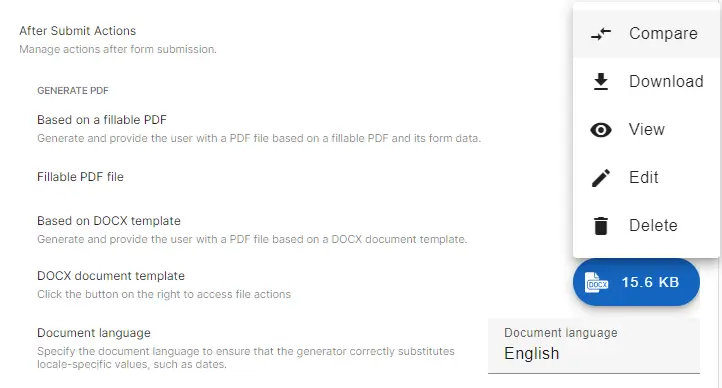
To do this, open the DOCX file menu and select the "Compare" action.
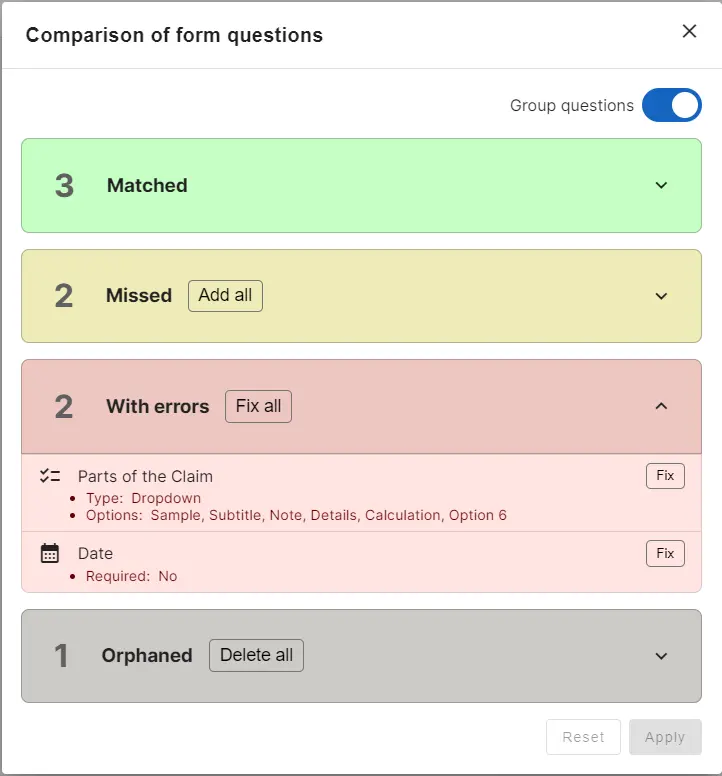
In the panel that appears, you will see the result of comparing the form questions with the fields defined in the DOCX template. Right here you can make quick corrections for each question, remove unnecessary questions and add missing questions.